Selecting a Rapid Prototyping Process: What Does Your Prototype Need to Prove?

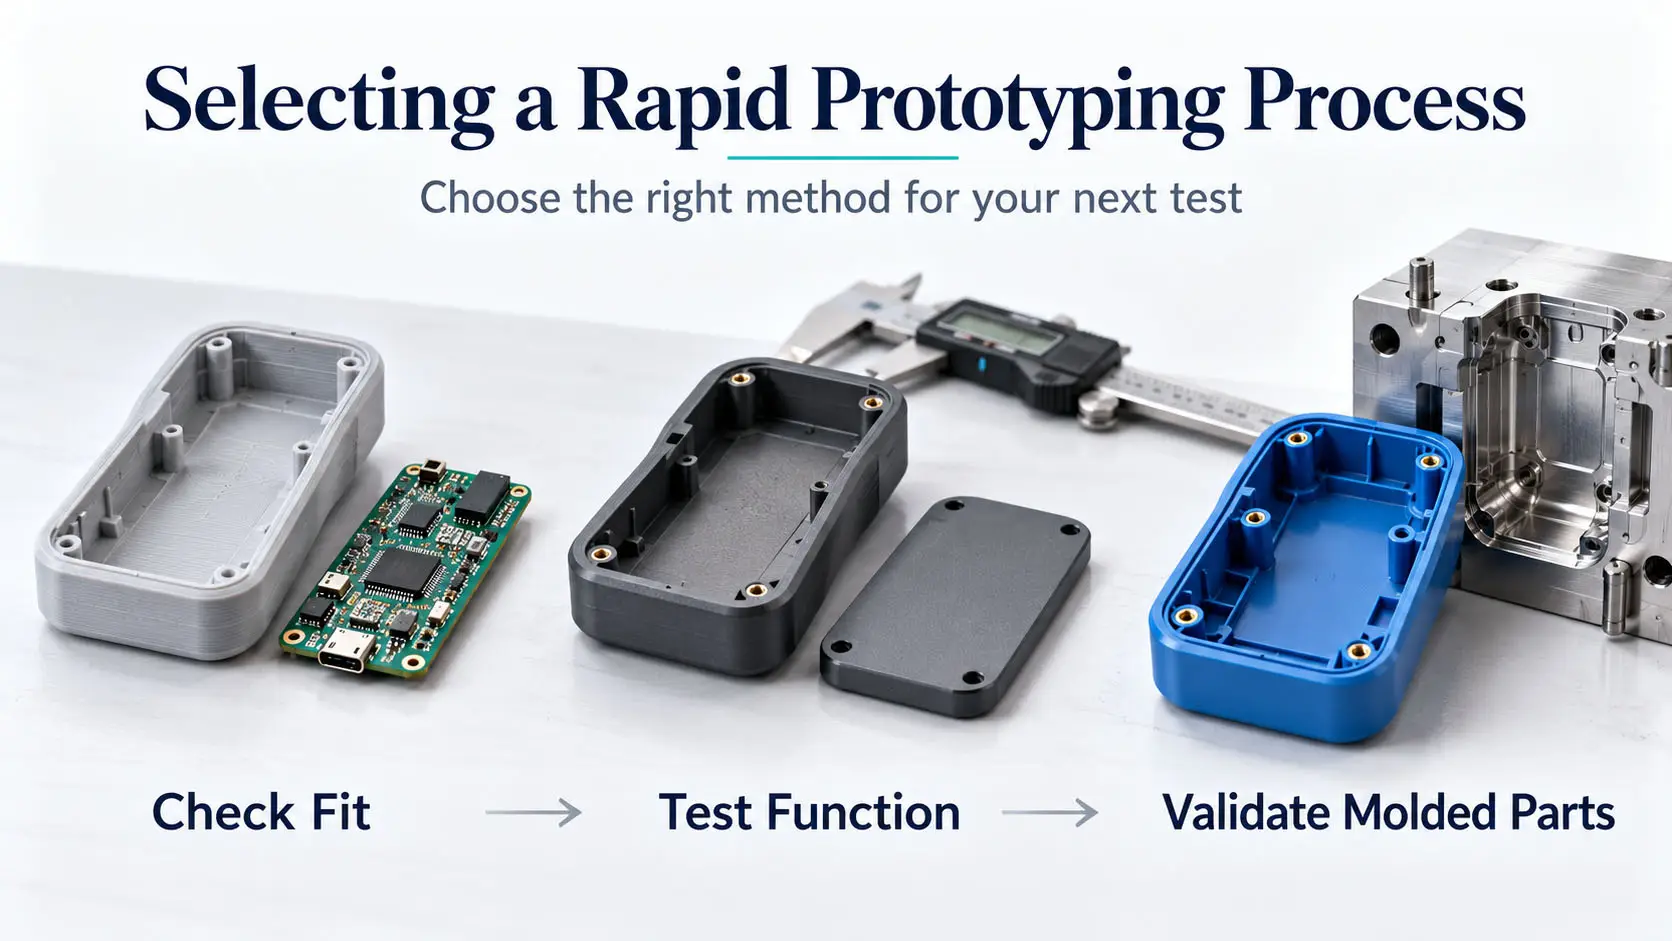
Table of Contents

- Quick Answer: How Do You Choose a Rapid Prototyping Process?
- Rapid Prototyping Process Comparison
- 1. Define the Test Before Choosing the Process
- 2. Decide How Closely the Material Must Match Production
- 3. Compare CNC Machining and 3D Printing by Feature
- 4. Specify Critical Tolerances Instead of Asking for “High Precision”
- 5. Compare the Cost of the Next Decision
- 6. Separate Manufacturing Time From Arrival Time
- 7. Know When to Move to Prototype Injection Molding
- Example: Planning Prototypes for a Handheld Enclosure
- What to Include in a Rapid Prototyping RFQ
- Frequently Asked Questions
- Discuss Your Prototype Requirements With Yijiang


Selecting a rapid prototyping process starts with a practical question: what decision will this prototype help you make?
A model for a customer presentation has different requirements from a housing used for a drop test. A prototype that confirms assembly clearance may not tell you whether an injection-molded snap-fit will survive repeated use.
The right process produces evidence you can use for the next development decision. That requires matching the manufacturing method, material, geometry, and inspection plan to the purpose of the test.
This guide compares common rapid prototyping methods and explains how to choose a route from early concepts to molded production parts.
Quick Answer: How Do You Choose a Rapid Prototyping Process?
Start with the test objective, then identify the material properties and dimensions that must be representative.
Consider 3D printing for early geometry checks and complex designs, CNC machining for accessible features in available stock materials, urethane casting for repeated presentation samples, and prototype injection molding when molded material behavior needs evaluation.
Before ordering, document three things:
- The question the prototype must answer.
- The measurable condition for passing the test.
- The production characteristics the prototype will not reproduce.
This prevents a successful prototype test from being interpreted more broadly than the evidence supports.
Rapid Prototyping Process Comparison
The following table is a starting point for process selection. Actual suitability depends on the material, equipment, geometry, finishing, and supplier’s demonstrated capability.
| Process | Useful starting point for | Main limitation to review |
|---|---|---|
| FDM 3D printing | Early layout checks, basic fit models, fixtures | Layer direction, surface finish, and build settings can affect results |
| SLA 3D printing | Detailed appearance models, small features, resin-specific functional tests | Resin behavior must be checked against the intended test environment |
| SLS 3D printing | Complex polymer prototypes and functional assemblies | Powder removal, surface texture, and material selection |
| MJF 3D printing | Functional polymer prototypes and multiple parts in one build | Available materials, finishing, and feature-specific capability |
| CNC machining | Metal or plastic prototypes with machined interfaces | Cutter access, internal corners, workholding, and stock availability |
| Urethane casting | Repeated appearance samples and selected functional evaluations | Cast polyurethane is not the same material as the thermoplastic it simulates |
| Prototype injection molding | Testing parts made with a selected molding resin | Tooling investment and differences between pilot and production conditions |
For additional process background, see the Formlabs comparison of FDM, SLA, and SLS and HP’s explanation of MJF prototyping.
1. Define the Test Before Choosing the Process
“Functional prototype” is too broad to serve as a manufacturing specification.
Instead, describe the actual evaluation:
| Development question | What to specify |
|---|---|
| Does the enclosure fit around the electronics? | Component envelope, mounting positions, and minimum clearance |
| Can users operate the latch comfortably? | Required travel, operating force, and number of cycles |
| Will the bracket hold the load? | Load direction, magnitude, duration, and allowable deflection |
| Does the assembly look acceptable? | Viewing distance, lighting, color reference, and approved surface areas |
| Will the seal work? | Mating surfaces, compression, test conditions, and acceptance criteria |
For example, “check the housing” leaves room for interpretation. “Confirm connector access and screw alignment using the current PCB revision” gives the manufacturer and test team a clear objective.
Choose the process after these requirements are defined.
2. Decide How Closely the Material Must Match Production
Material similarity has several levels. A prototype may match the final part’s appearance, approximate one mechanical property, or use the specified production resin.
These are different forms of evidence.
A material described as “ABS-like” should not be treated as ABS. Cast polyurethane systems can simulate selected characteristics of other plastics, but their properties must be reviewed individually. Star Rapid’s polyurethane material sheet illustrates this distinction between casting materials and the plastics they simulate.
For engineering tests, record:
- Exact material name and grade.
- Manufacturing process and build orientation, where relevant.
- Conditioning and post-processing.
- Temperature, moisture, chemicals, and loading involved in the test.
- Differences from the intended production part.
A matching material family alone is not enough to establish equivalent performance.
Can a CNC prototype represent an injection-molded part?
CNC machining can be useful when a suitable stock material is available and the required geometry is accessible.
However, a machined plastic prototype does not reproduce mold filling, weld lines, or the molding process itself. Use it to answer the questions it can address, then identify which questions require molded samples.
3. Compare CNC Machining and 3D Printing by Feature
The choice between CNC machining and 3D printing is often clearer when you examine individual features.
Consider CNC machining when the priority is a machined mating surface, bore, threaded feature, or metal component. Review whether cutting tools can reach the geometry and whether the part can be held securely during machining.
Consider 3D printing when frequent design changes or complex geometry make a process without dedicated tooling attractive.
For resin printing, fine detail and smooth surfaces can be useful for appearance reviews. Functional suitability still depends on the selected resin and processing conditions. Formlabs’ SLA guide describes different resin categories for different applications.
A project may also benefit from combining processes. For example, a printed housing can be assembled with machined inserts or brackets. The assembly should then be evaluated according to the properties of each component.
For parts with critical machined interfaces, review the drawing and inspection requirements with a CNC machining supplier before finalizing the prototype plan.
4. Specify Critical Tolerances Instead of Asking for “High Precision”
A supplier’s general accuracy statement does not define the acceptance criteria for your part.
Identify the dimensions that control function:
- Hole locations that determine assembly alignment.
- Sealing surfaces and their flatness requirements.
- Bearing fits or sliding interfaces.
- Minimum clearances.
- Features that must remain consistent across multiple samples.
Provide a dimensioned drawing alongside the 3D CAD file. Specify the controlling units, datums, and inspection requirements.
If a drawing includes both inches and millimeters, state which units control acceptance.
Also distinguish layer height from dimensional tolerance. A printing parameter is not a guarantee that every feature will meet the drawing.
5. Compare the Cost of the Next Decision
The lowest sample price does not necessarily produce the lowest development cost.
A useful comparison includes:
Prototype evaluation cost = manufacturing + finishing + inspection + delivery + expected revision cost
Ask suppliers to quote the same scope. Otherwise, one quotation may include cosmetic finishing and inspection while another covers only unfinished parts.
Quantity matters, but there is no universal part count at which one process becomes the best choice. Geometry, material, tooling requirements, labor, and the likelihood of design changes all affect the comparison.
Before paying for tooling, ask:
- Which dimensions are likely to change?
- Can the tool accommodate those changes?
- What would a revision cost?
- What evidence is required before approving the next stage?
This turns the quotation into a development decision rather than a unit-price comparison.
6. Separate Manufacturing Time From Arrival Time
For a U.S. development team, the useful date is when inspected parts arrive and are ready for testing.
Build the schedule around:
Engineering review + material availability + manufacturing + finishing + inspection + transportation
For overseas sourcing, also clarify customs documentation, shipping responsibilities, and any uncertainty in transit.
An RFQ should include the destination ZIP code and the required arrival date. Ask the supplier to state the manufacturing completion date separately from the estimated delivery date.
7. Know When to Move to Prototype Injection Molding
Prototype injection molding becomes relevant when the unanswered questions depend on molded parts made with the selected resin.
Examples include evaluating molding-related appearance, dimensional behavior, or the performance of features intended for molded production.
However, a pilot mold does not automatically reproduce a production mold’s cooling, cavity layout, or processing conditions. Treat prototype molding as a defined validation stage, with the remaining production checks documented.
Process selection guides, including Protolabs’ rapid prototyping guide, distinguish between early prototype needs and the transition toward production.
Before commissioning a tool, complete a mold design review covering relevant features such as wall thickness, draft, undercuts, gate location, and ejection.
Example: Planning Prototypes for a Handheld Enclosure
The following is an illustrative development scenario, not a customer case study.
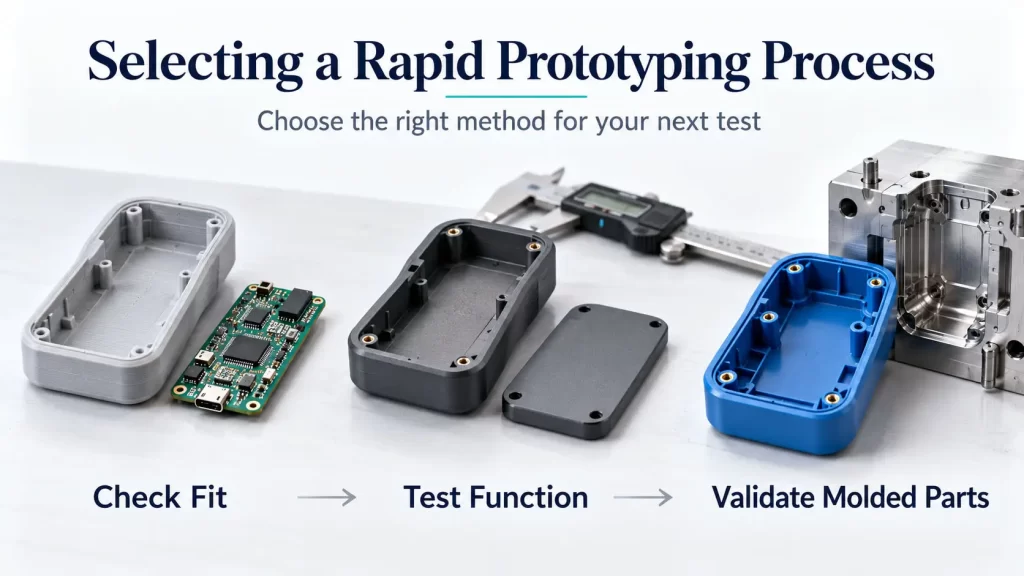
A team is developing a handheld enclosure with an internal PCB, screw bosses, and a snap-fit battery cover.
Ordering one type of prototype for every test could leave important questions unanswered. A staged plan makes those gaps visible.
| Stage | Question | Possible route | What remains unproven |
|---|---|---|---|
| Layout review | Do the PCB, connectors, and fasteners fit? | Printed models with critical dimensions checked | Final material durability |
| Functional evaluation | Can the assembly meet its defined mechanical requirements? | CNC or an appropriate printing process, selected for the test | Molding-specific behavior |
| Molded sample evaluation | Does the selected resin and molded design meet the requirements? | Prototype injection molding | Full production consistency and process capability |
Each stage should end with a recorded decision: revise the design, repeat the test, or proceed.
For the battery cover, a successful fit check should not automatically be recorded as proof of long-term snap-fit durability. That requires its own test conditions and acceptance criteria.
What to Include in a Rapid Prototyping RFQ
To receive a useful process recommendation, provide:
- A 3D CAD file and revision identifier.
- A drawing showing critical dimensions and tolerances.
- Prototype quantity and expected future quantity.
- Intended production material, if known.
- The purpose of the prototype and planned tests.
- Required finish and cosmetic surfaces.
- Inspection and documentation requirements.
- Required arrival date and delivery ZIP code.
- Known differences you can accept from production parts.
If you are unsure which process to request, describe the test objective and ask the supplier to explain the proposed method’s limitations.
Frequently Asked Questions
What is the best rapid prototyping process?
The best process is the one that can answer your current development question within the required budget and schedule. Define the test, material requirements, and critical features before comparing methods.
Is 3D printing always cheaper than CNC machining?
No. Part geometry, material, quantity, finishing, and inspection can change the result. Compare quotations with matching deliverables and acceptance requirements.
Can one prototype validate appearance, fit, and durability?
Sometimes, but do not assume it will. Different evaluations may require different materials, finishes, or manufacturing methods. Record which requirements each sample is intended to verify.
When should I use prototype injection molding?
Consider it when your next decision requires evidence from molded parts in the selected resin and the design is stable enough to justify tooling. Define what the pilot tool will validate and what still needs confirmation in production.
Discuss Your Prototype Requirements With Yijiang
Choosing a process is easier when the test objective is clear.
Explore Yijiang’s rapid prototyping services or contact the team with your CAD files, material requirements, critical dimensions, quantity, and delivery location.
Include what the prototype needs to prove so the discussion can focus on an appropriate manufacturing route and the next step toward production.
- PREV: Null
- NEXT: Null

Yijiang is a professional custom manufacturing partner specializing in large-scale injection molding and precision mold development. We support global clients in automotive,
in large-scale injection molding and precision mold development. We support global clients in automotive,


Get a quote from the China’s #1 CNC Machining Services.
Ready to get started? Connect with us today!
 Talk to Our Team